Grant Consent using Global Admin account
You can secure the Token connection with the customer M365 platform by sending an email to the customer Global admin with a link to trigger the Token Invitation wizard
| ➢ | Do the following: |
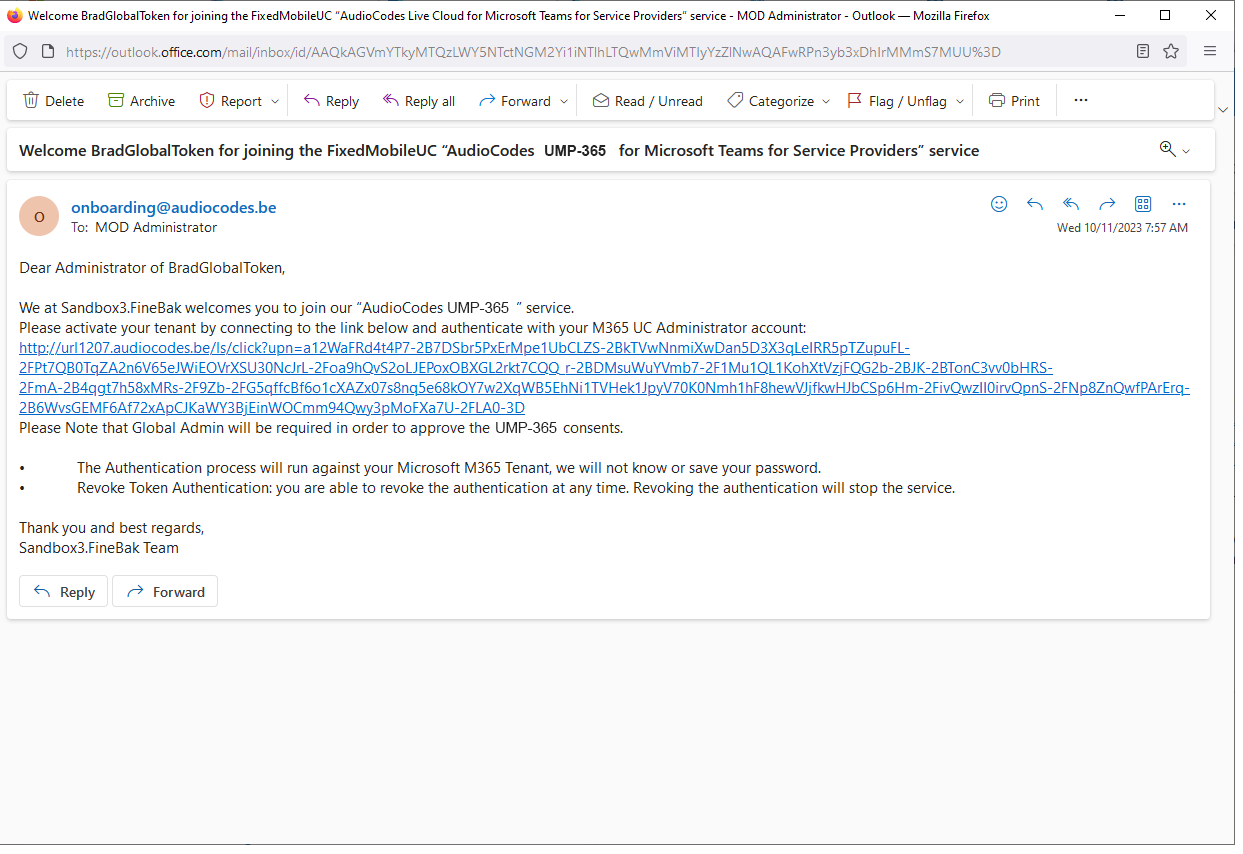
| 1. | Open the email of the Global Admin account and search for the Welcome mail from User Management Pack 365 SP Edition with a link to the Token Invitation wizard. |
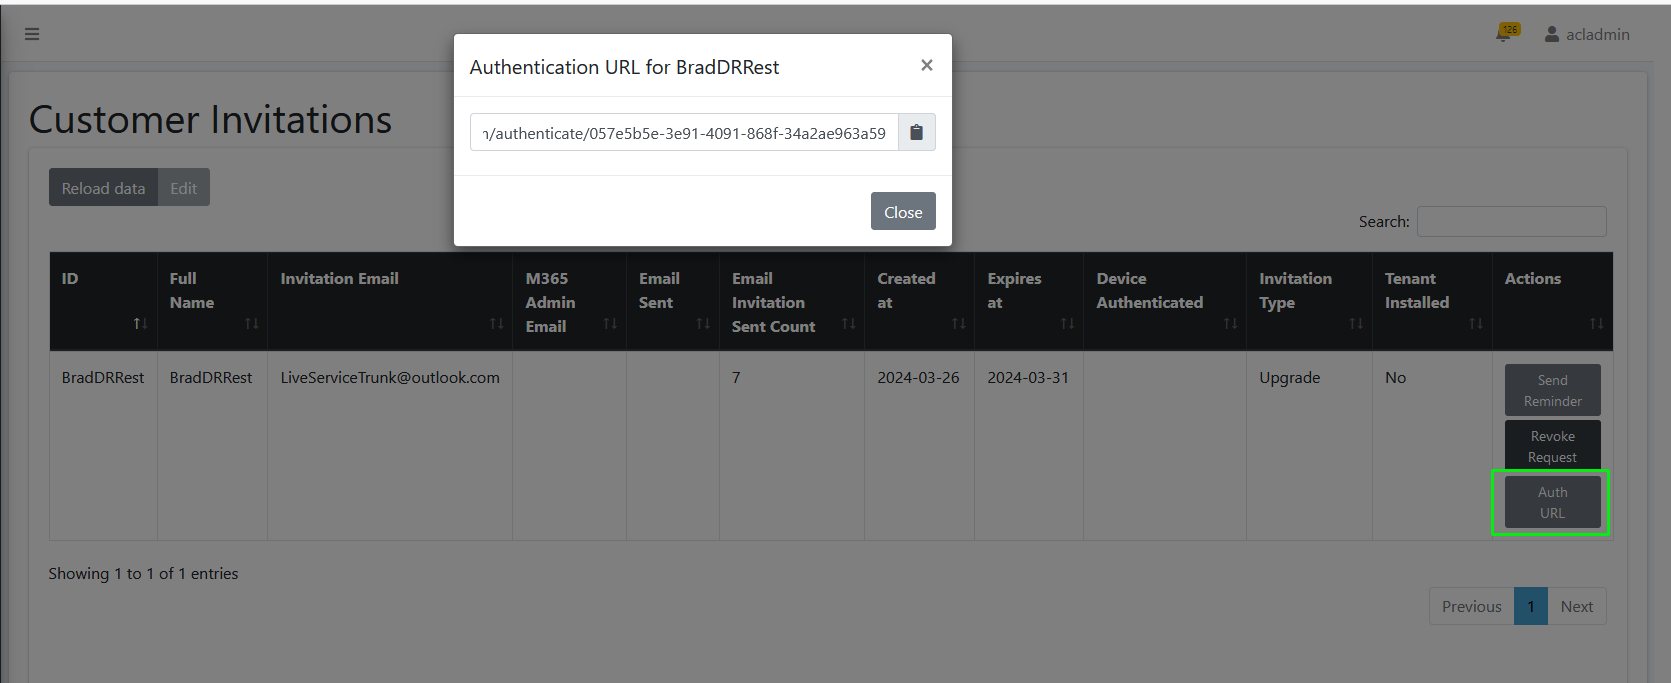
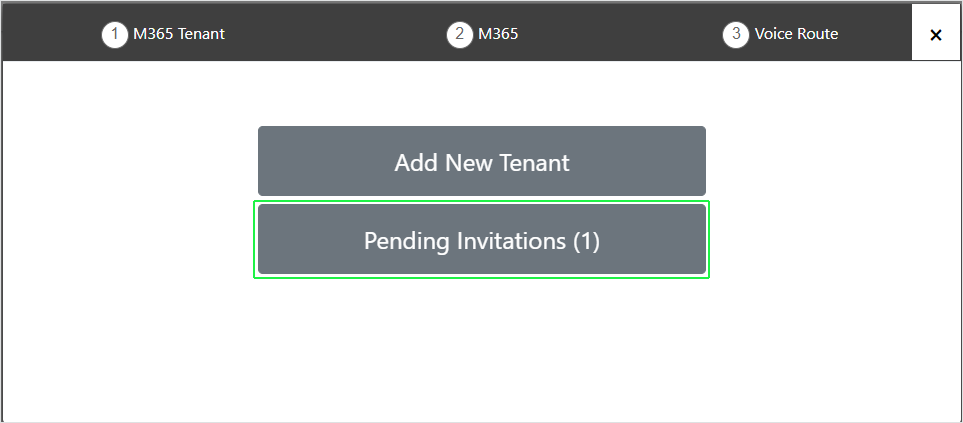
If mail has not been received, open the Multitenant interface and navigate to Security > Customer Invitations. Search for the relevant token and verify that the 'Email Sent' field is set to true (see Pending Invitations). You can also initiate the Token Invitation wizard by clicking the AuthURL link (see below), and then copy the URL and paste in Web browser. In addition, check the email settings (see Configuring Email Settings).
| 2. | Click the link to the Token Invitation wizard sent in the mail as shown in the example above. The Token Invitation Wizard Welcome screen is displayed. |
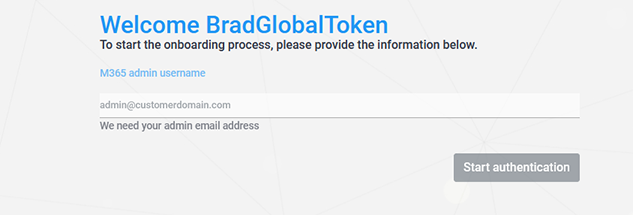
| 3. | Enter the credentials of the Global Admin account, and then click Start authentication. |

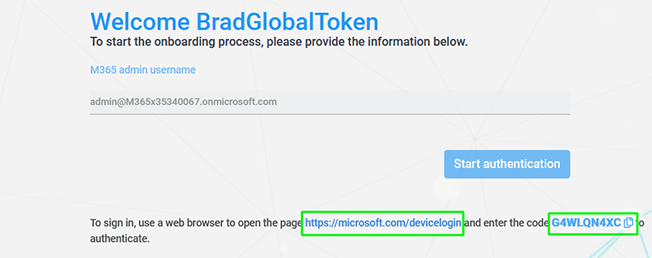
| 4. | Copy the code at the bottom of the screen, and then click the Web browser link. |
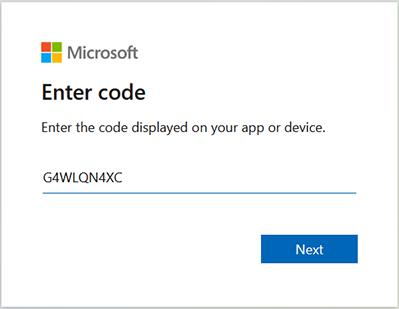
| 5. | Paste the code and then click Next. |
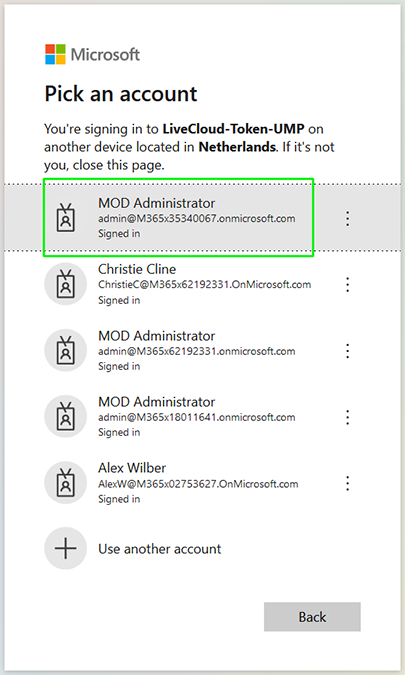
| 6. | Enter credentials of Global Admin account, and then click Next. |
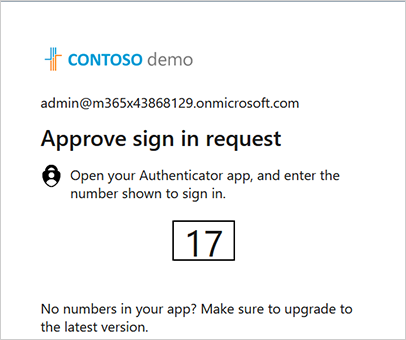
| 7. | You will be prompted to authenticate your account using Microsoft Authenticator. A screen similar to the following is displayed; complete the authentication process. |
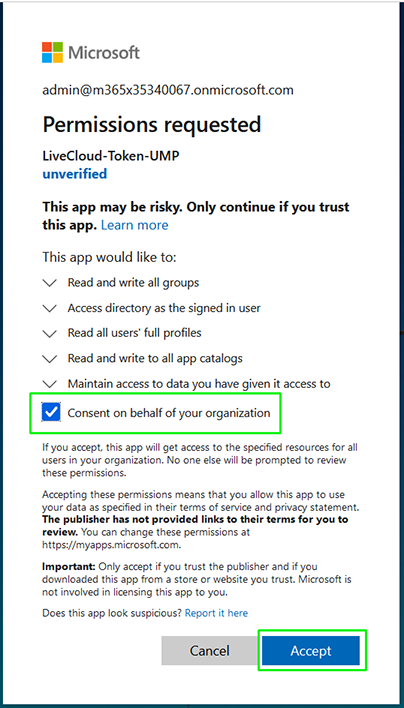
| 8. | Select Consent on behalf of your organization check box, and then click Accept. |
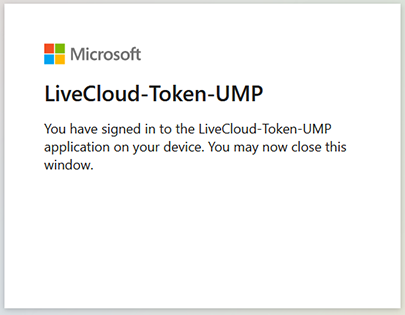
| 9. | Close the Information window and return to the Token Invitation wizard screen. A confirmation message is displayed that the Token Invitation wizard has successfully acquired a token. |
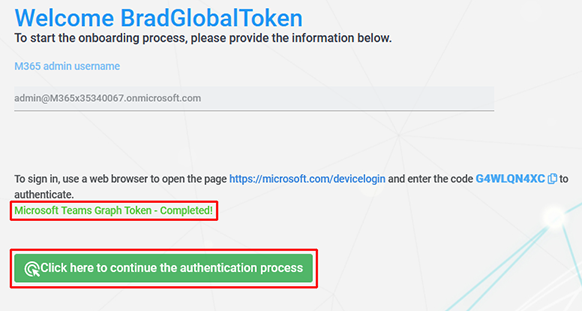
| 10. | If this is the first time that you are connecting to your customer tenant, click the click here to continue the authentication process link. |
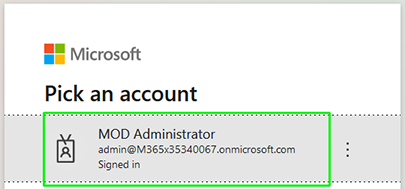
| 11. | Enter the credentials of the customer tenant Global Admin account. |
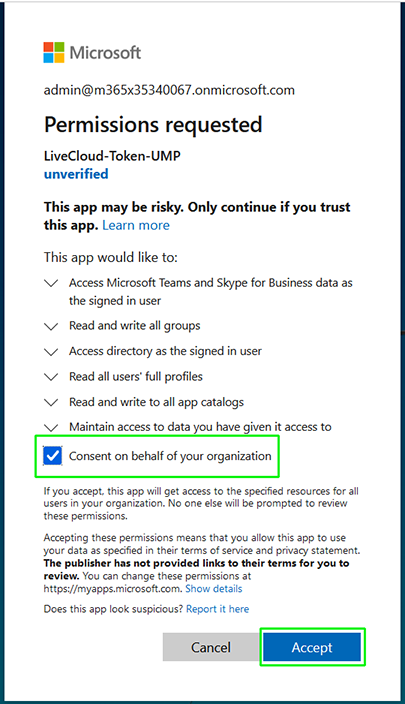
| 12. | Select the Consent on behalf of your organization check box, and then click Accept. A confirmation message is displayed indicating that the Token authentication process has successfully completed. |
![]()
| 13. | Close the browser tab; the Tenant Activation page appears with an additional confirmation message. |

| 14. | Close the Tenant Activation page. |
| 15. | Reopen the Onboarding wizard ( In the Services page, from the Add Service drop-down, choose Direct Routing) and then click Pending Invitations to confirm that the Authentication process is complete; verify that Status is shown as Authentication Complete (see Pending Requests). You can then click Add to resume the Onboarding |

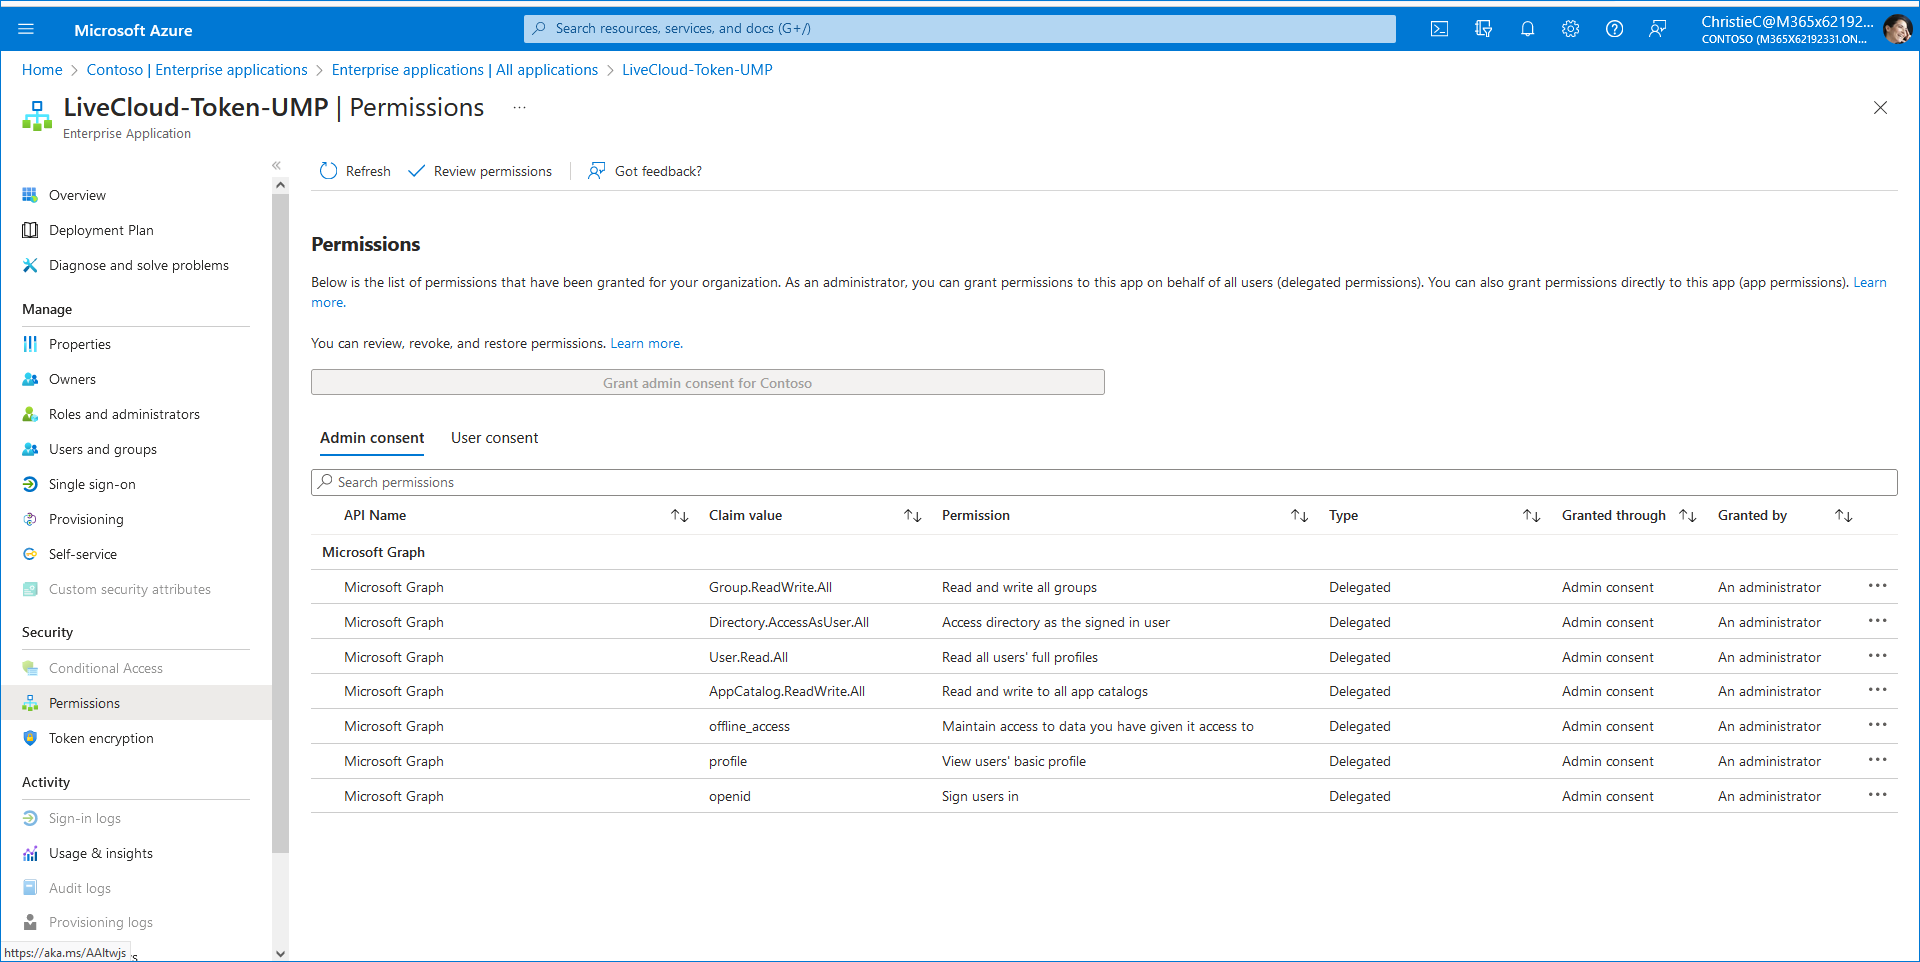
| 16. | Login to the customer Global Admin account on the Azure portal and open the newly created Token registration (Enterprise Applications > <Token-Registration-Name>). In the Navigation pane, select Permissions to view the permissions for the new Enterprise application. |
| 17. | In the Navigation pane, select Permissions. Note the added permissions for the new Enterprise application. |
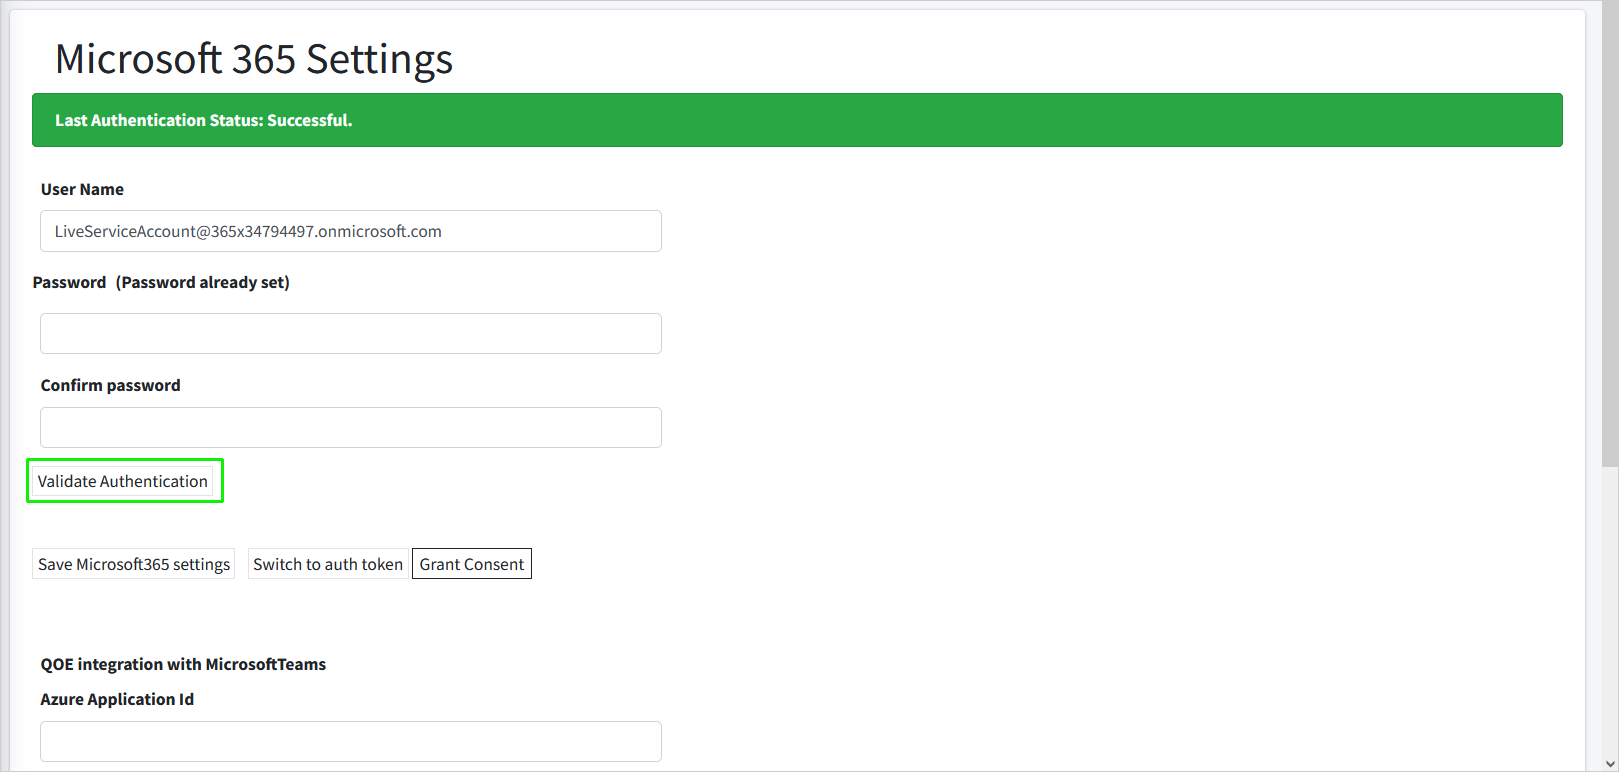
| 18. | Upon the completion of the Onboarding process, you can login to the User Management Pack 365 SP Edition portal (see Accessing the Customer Portal (Direct Routing), and then open the M365 Settings page (see Securing Microsoft 365 Service Provider Access). Notice that the Service account credentials are displayed. You can click Validate Authentication to test the Token connection. A confirmation message is displayed at the top of the screen. |